Table of Contents
ToggleTransform Your Space: The Benefits of Modern Baseboard Covers
To install baseboard heater covers, follow these simple steps:
- Measure your heater (height, depth, and length)
- Turn off the heat source completely
- Remove old covers (unscrew end caps and front panel)
- Clean the heating element thoroughly
- Snap on new end caps to your replacement cover
- Install the cover by sliding it over the heating element
- Secure with brackets if the back plate is missing
Install baseboard heater covers to instantly upgrade your home’s appearance while improving safety and potentially enhancing heating efficiency. Those unsightly, dented, or rusted baseboard heaters that line your walls don’t have to remain an eyesore. Modern baseboard covers offer a simple solution that can transform the look of your room without requiring a complete heating system replacement.
Baseboard heater covers serve multiple purposes beyond aesthetics. They protect children and pets from hot surfaces and sharp edges, prevent damage to the heating elements, and in some cases, can improve heat distribution through better airflow design. With covers available in various materials like polymer and steel, you can choose options that complement your home’s style while addressing practical concerns.
The good news is that most baseboard heater covers can be installed in under five minutes per unit as a DIY project, potentially saving you up to $75 per hour in professional labor costs. Whether you have hydronic (hot water) or electric baseboard heaters, there are cover solutions designed specifically for your system.
As one contractor noted after installing covers in a family home, “It’s not just about looks—these covers protected a toddler’s fingers and gave the parents peace of mind.” With approximately 95% of hydronic baseboard heaters compatible with universal cover designs, changing your space has never been easier.
How to Install Baseboard Heater Covers Like a Pro
Ready to transform those old, unsightly baseboard heaters? Understanding your heater type is the first step before you install baseboard heater covers. There are two main varieties you’ll encounter: hydronic (hot water) and electric.
Hydronic systems circulate hot water through finned tubes, typically operating at a comfortable 85-125°F. Electric baseboard heaters, on the other hand, use electrical resistance and can run much hotter—often 180-200+°F—which means they need covers specifically designed to handle that heat.
Here’s some good news: about 95% of all hydronic baseboard heaters ever made can use universal “one-size-fits-most” covers. This is particularly helpful since many original manufacturers have disappeared over the decades.
Tools You’ll Need
Before rolling up your sleeves, gather these essentials: measuring tape, pencil and paper, screwdrivers (both flathead and Phillips), hacksaw or tin snips for custom cuts, a vacuum cleaner, work gloves to protect your hands, safety glasses, a drill/driver if you need brackets, 1¼-inch drywall screws, and wood shims to protect your walls during removal.
Material Considerations
When choosing covers, you’ll typically decide between two main materials:
Polymer/Composite Covers never rust, resist melting up to about 460°F, are lightweight and easy to cut, clean up with regular household cleaners, and have no sharp edges—making them child-friendly.
Steel Covers offer more durability in high-traffic areas, come in various powder-coated finishes, are typically made of 22-24 gauge galvanized steel, provide better heat conductivity, but may require specialized tools for cutting.
Price-wise, expect to pay between $40-$50 for basic snap-on covers and upwards of $200 for complete enclosure kits, depending on size, material, and style.
Measure Before You Order
Taking accurate measurements is absolutely crucial—get this wrong, and you’ll waste time, money, and patience!
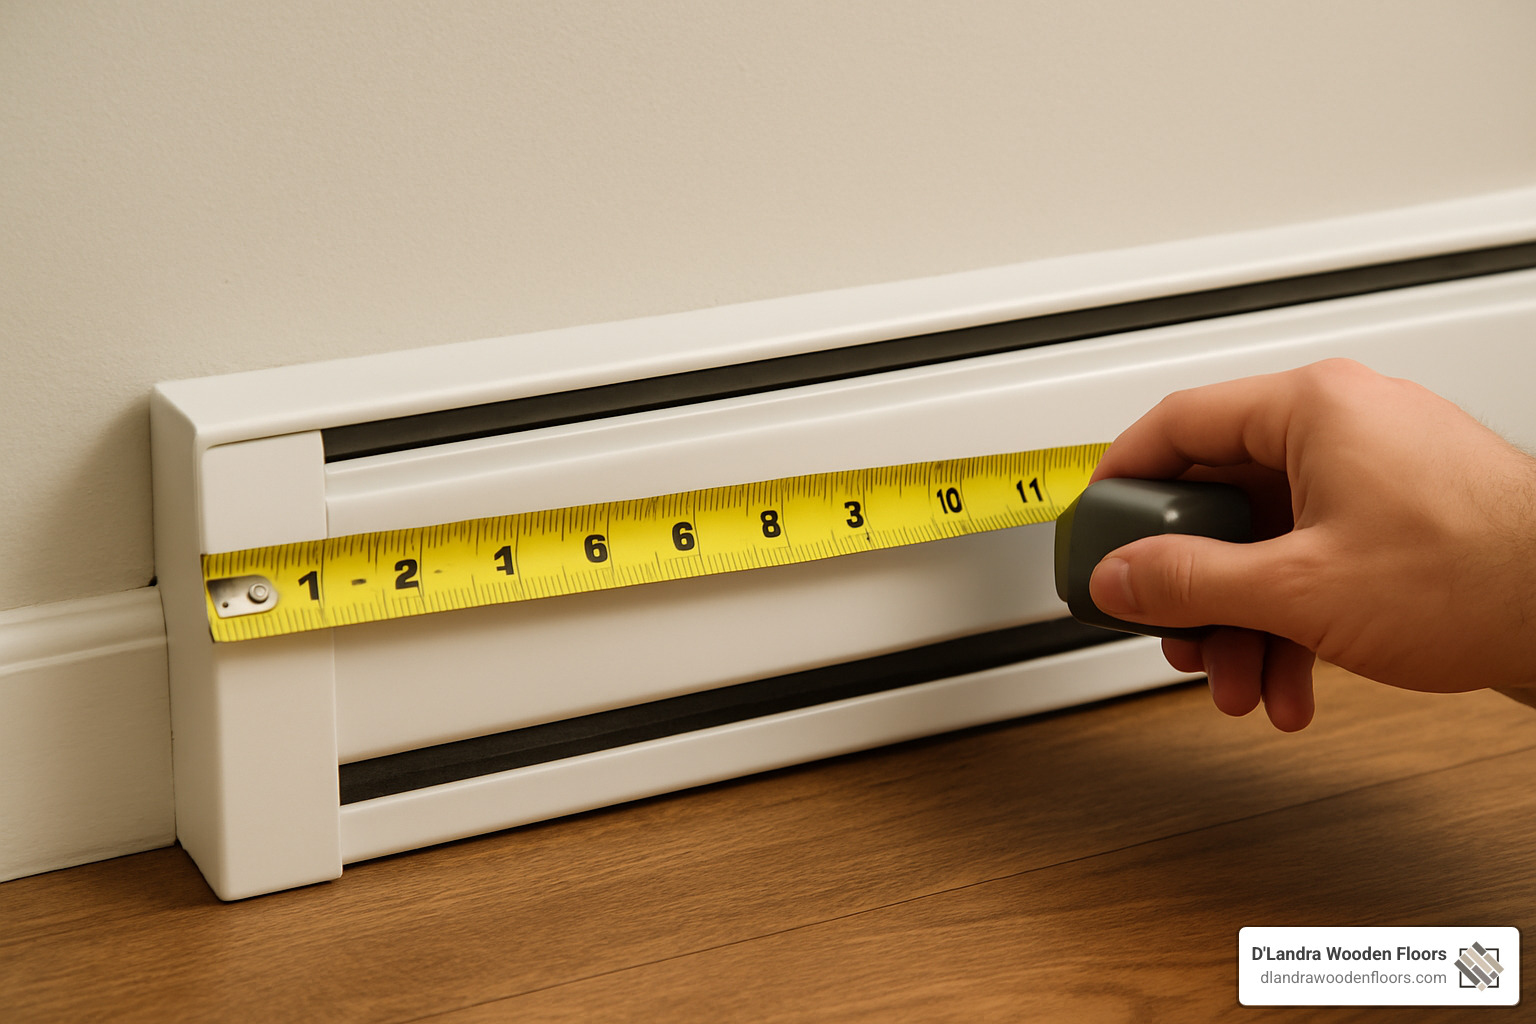
For hydronic heaters, measure the floor-to-top height (standard is 7½” to 9″), the finned tube height (typically 5″ to 6¾” for standard covers), the depth from wall to front of tube (should be 3″ or less), and the length from left to right.
For electric heaters, follow similar steps but verify your thermostat location (you need a wall thermostat rather than controls on the unit) and be extra careful about depth—electric units must be less than 3⅛” deep to work with standard covers.
As professionals often say, “Always measure left to right, and twice for accuracy.” This simple habit prevents costly ordering mistakes.
Step-by-Step: Install Baseboard Heater Covers Safely
Now let’s get to the main event—how to install baseboard heater covers properly:
First, turn off the heat source completely. For hydronic systems, turn off the boiler or circulation. For electric systems, switch off power at the circuit breaker—not just the thermostat. Let everything cool down before touching.
Next, remove the old covers by taking off the end caps first (they usually unscrew or snap off), then tackle the front panels. For stubborn covers, slide wood shims behind the back plate to protect your wall. Really stuck? A reciprocating saw can cut through nails or screws holding the back plate.
Take time to clean the heating element using a vacuum with a brush attachment. This step isn’t just for looks—a clean heating element improves efficiency and prevents that burning dust smell when you turn the heat back on.
Now prepare your new cover by unpacking and inspecting everything, attaching end caps to the main cover before installation, and making any custom cuts needed before assembly.
When you’re ready to install the cover, the process differs slightly depending on your situation:
If your baseboard heater has an intact back plate, simply drop or slide the fully assembled cover over it, ensuring it sits flush against both wall and floor, then secure any latching mechanisms.
If the back plate is missing, you’ll need to patch and paint the wall first, locate wall studs, drill pilot holes at the recommended height (typically 7″ above floor for standard covers, 9″ for tall ones), secure wall brackets using 1¼-inch drywall screws, and slide the panel lip into the bracket gap.
Finally, finish and test by ensuring everything is securely fastened, checking for gaps or misalignments, turning the heat back on, and monitoring for proper function.
At D’Landra Wooden Floors, we understand how baseboard heater covers complement your beautiful flooring. Learn more about our baseboard installation services in South Florida.
Custom Cuts, End Caps & Accessories
Sometimes standard sizes won’t fit your unique space perfectly. Here’s how to handle those special situations:
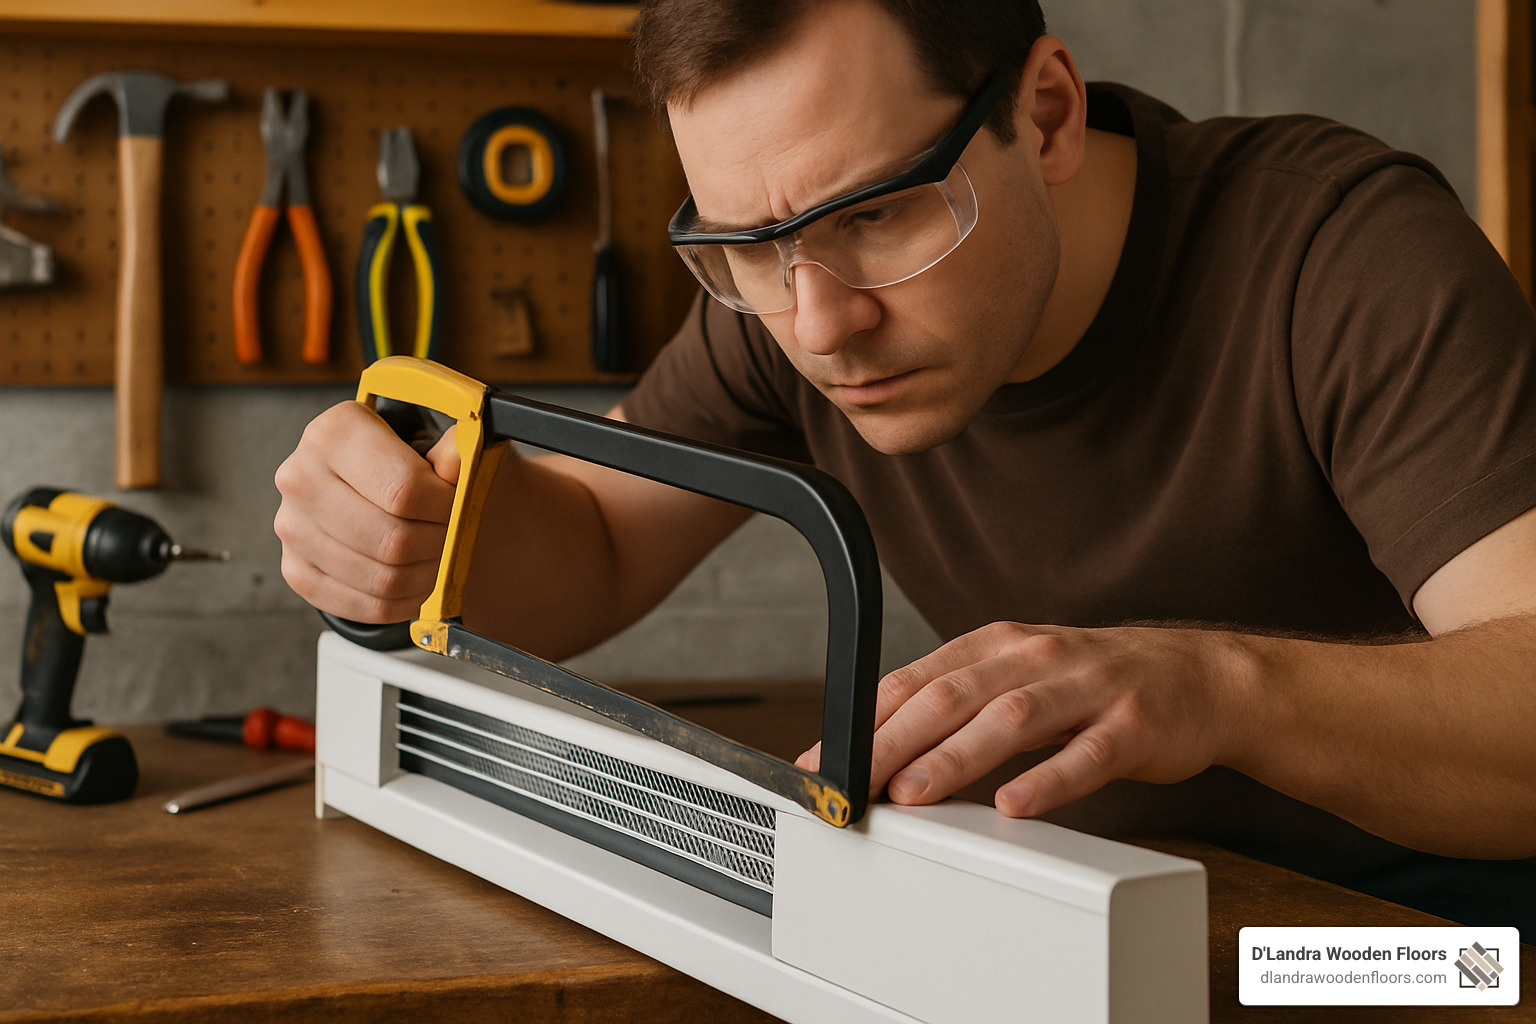
For custom cutting, mark your measurements carefully with a pencil. Polymer covers can be cut with a hacksaw, carpet shears, or heavy scissors, while metal covers need a hacksaw with a fine-tooth blade or sheet metal snips. Always cut on a stable surface wearing safety glasses, and sand any rough edges afterward.
When it comes to end cap options, you’ll choose between closed end caps (which completely seal off the end), open end caps (used when the heater continues around a corner or into another room), or zero clearance end caps (for tight spaces near furniture or cabinets).
For joining and corner solutions, use splice plates when heaters exceed 6-7 feet, connecting multiple covers seamlessly. For corners, you’ll need either 90° inside/outside corners for right angles or 135° inside/outside corners for 45-degree turns.
Some end caps include built-in height adjustment reliefs that can be trimmed to accommodate uneven floors, typically allowing adjustments in ½” and 1″ increments.
Common Mistakes When You Install Baseboard Heater Covers
Avoid these common pitfalls for a successful installation:
Inaccurate measurements can ruin your project before it begins. Always measure twice and remember that end caps add length.
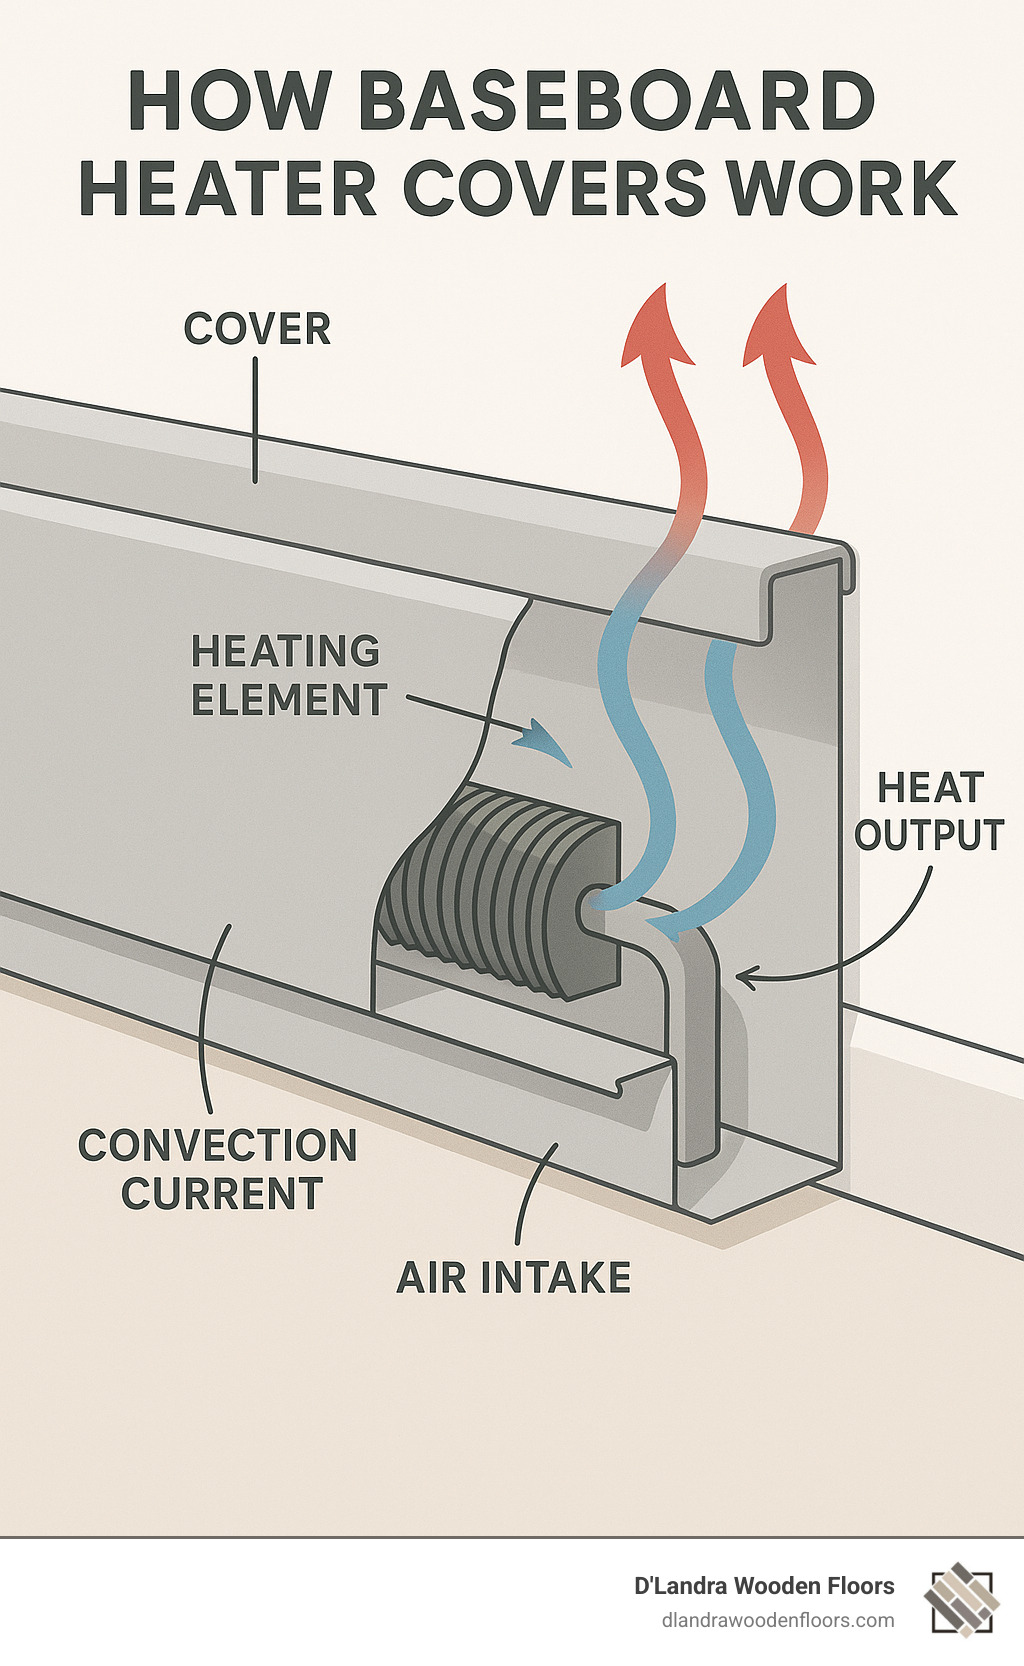
Blocking airflow prevents proper heating. Baseboard heaters work through convection—cool air enters at the bottom, warms up, and rises out the top, so never block these critical pathways.
Allowing contact with heating elements can create fire hazards, especially with electric models. Keep the cover from touching any actual heating element.
Skipping stud anchoring when using wall brackets leads to unstable installations. Always secure brackets to wall studs, particularly for longer runs.
Forgetting to clean the heating element reduces efficiency and can create unpleasant odors when heated.
Using the wrong cover type—like hydronic covers on electric heaters—can be dangerous unless they’re specifically rated for higher temperatures.
Ignoring clearance requirements impairs function. Maintain at least ¾” between the floor and the bottom of the cover for proper air intake.
If you encounter problems like covers that won’t snap on, gaps between wall and cover, rattling noises, or reduced heat output, don’t worry—most issues have simple solutions like checking for obstructions, using high-temperature caulk for gaps, securing loose components, or ensuring proper airflow.
Conclusion & Next Steps
Installing baseboard heater covers is a cost-effective way to transform your space without the expense of replacing your entire heating system. With most covers costing between $40 and $200 per unit (depending on size and style), you can achieve a modern look while improving safety and potentially enhancing heating efficiency.
The installation process is typically straightforward, with most snap-on covers taking five minutes or less to install. This makes it an ideal weekend DIY project that can immediately impact your home’s appearance.
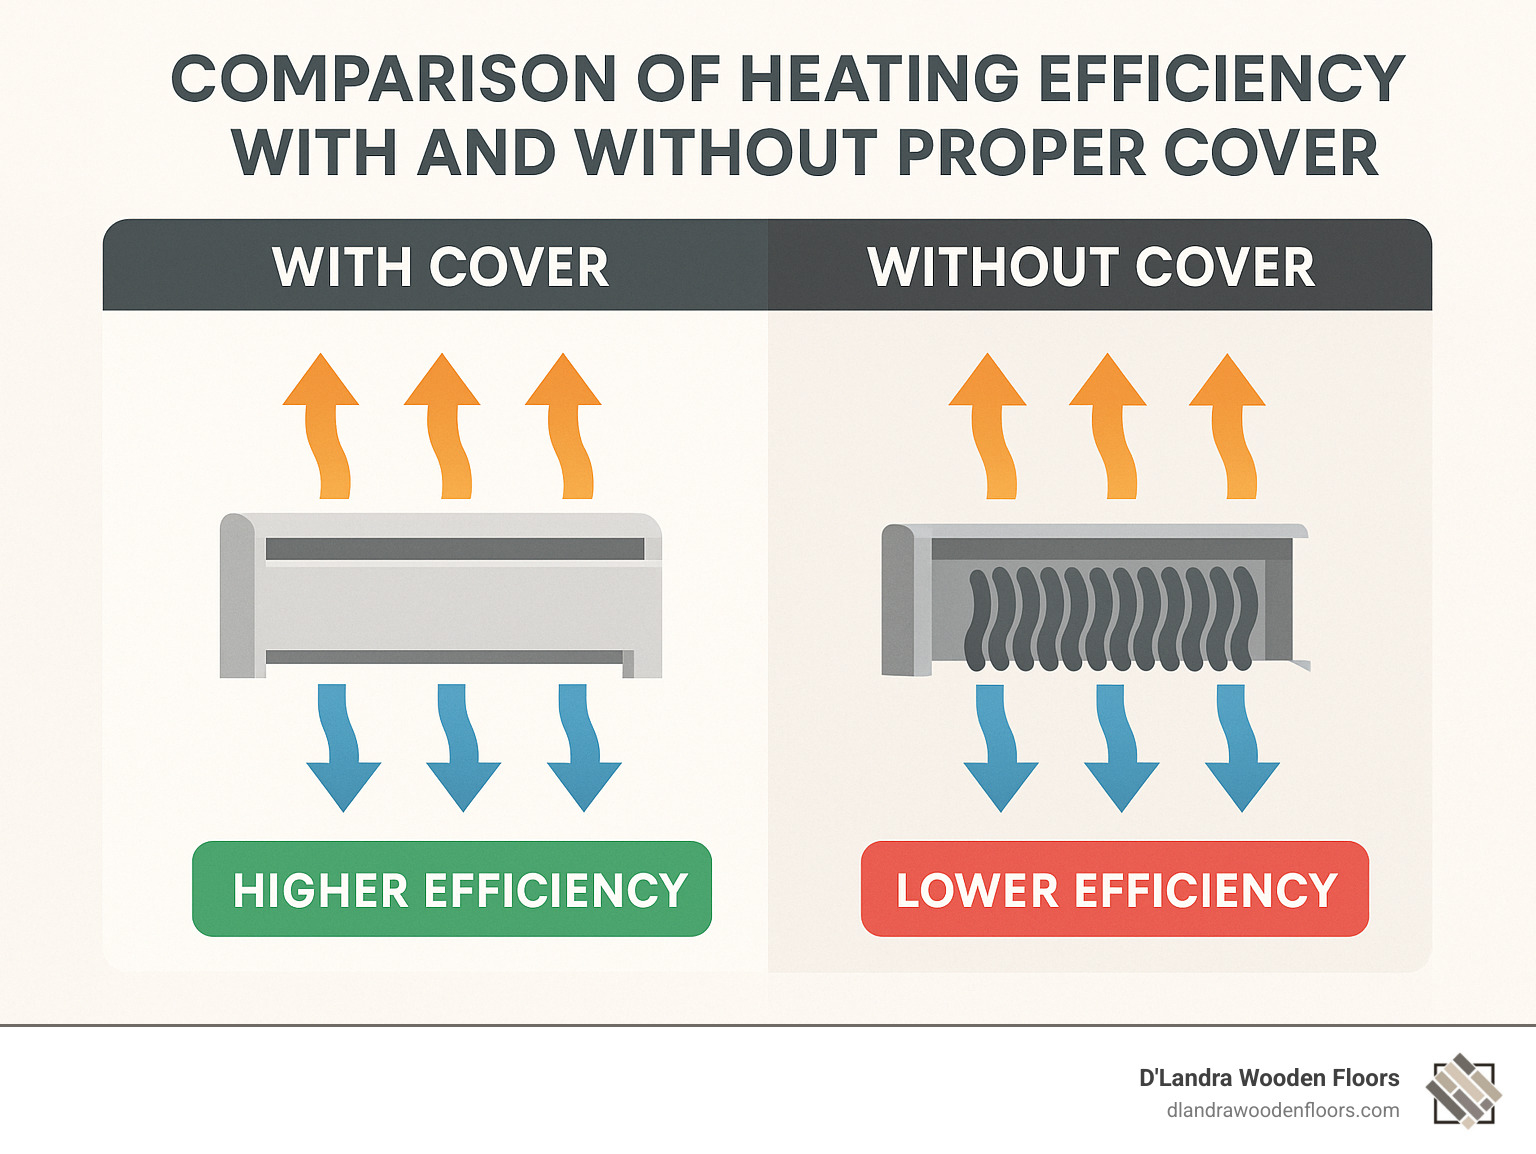
Proper covers can actually improve heating efficiency. As heating industry data shows, a bare heating element produces about 710 BTUH per linear foot at 170°F average water temperature, while a 12″ high cover increases this to 810 BTUH, and an 18″ high cover further boosts output to 910 BTUH due to the chimney effect.
Maintenance Tips
To keep your newly installed baseboard heater covers looking their best:
- Dust regularly with a soft cloth or vacuum attachment
- Wipe polymer covers with standard household cleaners
- For metal covers, use a mild soap solution and avoid abrasive cleaners
- Remove the covers once a year to clean the heating elements thoroughly
- Check for any loose components and tighten as needed
DIY vs. Professional Installation
While installing baseboard heater covers is generally a straightforward DIY project, there are situations where professional help might be beneficial:
- Complex configurations with multiple corners and custom cuts
- Situations requiring electrical work or modifications
- When back plates need replacement or repair
- If you’re uncomfortable working with heating systems
- Large projects with many units to replace
At D’Landra Wooden Floors, we specialize in precision installations that complement our premium flooring solutions. Our team understands the importance of coordinating baseboard heater covers with your overall design aesthetic, especially in South Florida homes where heating elements may be less common but still require proper finishing.
We offer free in-home estimates and our fully insured services ensure your project is completed to the highest standards. Learn more about our full flooring services and how we can help transform your space with professional baseboard installations in Coral Springs, Parkland, Weston, and throughout South Florida.
Whether you choose to tackle this project yourself or enlist professional help, upgrading your baseboard heater covers is a simple yet effective way to improve your home’s appearance, improve safety, and potentially boost heating efficiency—all without the major expense and disruption of a complete heating system replacement.


